Showing posts with label Gifts. Show all posts

Monday, July 25, 2011

{A Birthday party}

Sunday night we went to a party for a favorite four year old boy we know. His mom made this cake---isn't it amazing? I LOVE it! It's Mater from Cars fame.  I have some pictures from the party and of the gift/card we gave.....but I have NO pictures of the birthday boy. HOW DOES THAT HAPPEN? Oh my---I have a few pictures of his parents but none of them are any good---bad photography---it had nothing to do with the subjects! ANYWAY, there is nothing like a child's birthday party to make someone happy! I have had a tough weekend and it was so great to laugh and enjoy the kids at the party.

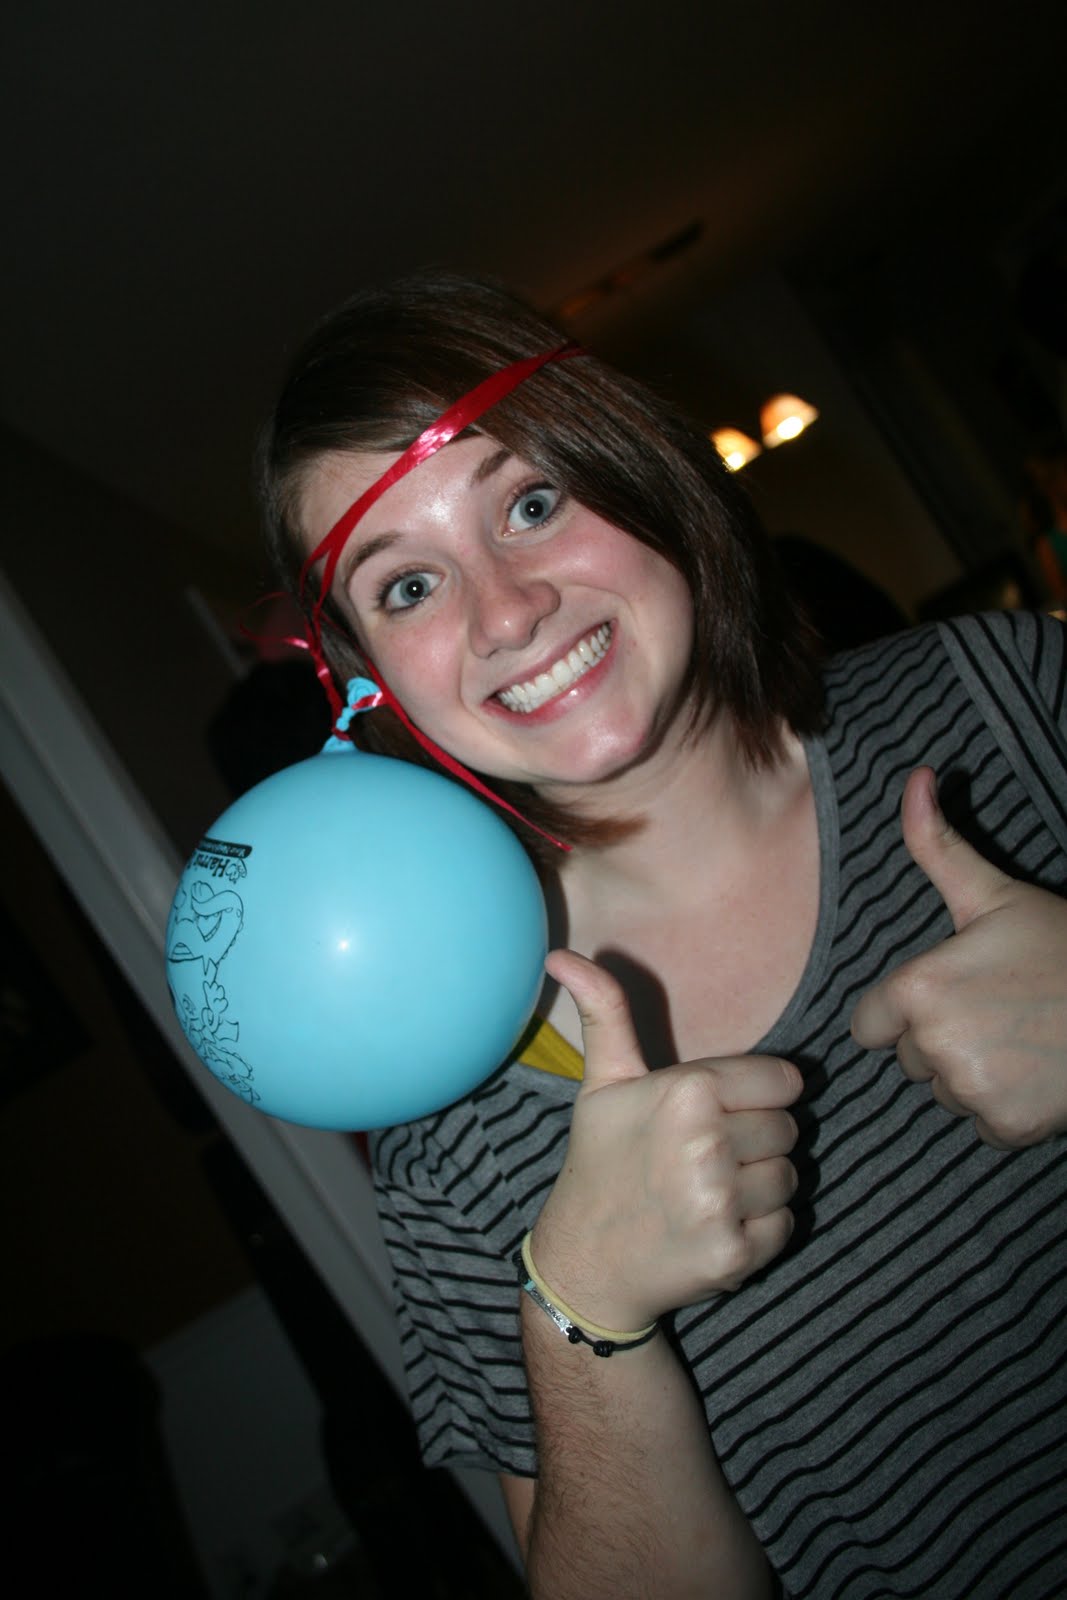
Hannah with a balloon head---and of course, the thumbs up sign---she has NO idea what this does to a Longhorn. I have failed her..... I must explain it to her......

 Kristin, Sarah Beth, Mary Grace & Hannah--LOVE these girls

We got Ian some Legos---and so did everyone else! Oh well, Legos are amazing and he can build all sorts of things with them long after he takes the original thing apart...trust me---I KNOW this personally.

I made a card and tag to match....I must confess, I used orange and green because I have TONS of orange and green tissue paper left over from the wedding and I really need to use it. I may use it on every gift for the next two years and still have some left---yes, I have that much!

Here's Ian's card. He loves to play video games, so I thought this Boy Basics: Game On set was perfect for his card. This set is so cute and it's only $5! You have to love that! I must say, I totally CASED this card (Copy And Steal Everything) from this post on Nichole Heady's blog. I didn't have much creative energy, so I used her layout almost exactly and just changed up the colors to match my huge supply of tissue paper! 

If you have any questions about the card or tag I'd be happy to answer them, I'm not going to do a detailed list tonight---I'm going to sleep. Joshua isn't feeling well and I may have a long night in front of me. He's already been in my room three times. Thanks for the visit---I have been working on my dining room and will have some posts on that soon---well, I hope I will.


Sunday, February 27, 2011

{Hospital Baby Favors}

Oh my---I can't believe it's been so long since I've posted! I have had so many things to post---I just haven't gotten them on here! AGH---the story of my life!

I made some favors to take to the hospital when this sweet grandbaby is born. Every baby should be celebrated with chocolate, right? The truth is, I love making little gifts to give out to people and this is a WONDERFUL excuse to make some!
 
I found Hershey bars for fifty cents each, so I bought a box and covered them with patterned paper. I saw some on this post at Michelle Wooderson's blog. These are so simple---if I hadn't been making so many, I could have finished them in just an hour or two. Since we don't know the name of this blessed little one, I just stamped the "Baby Makes Three" from Bitty Baby Blessings on the tag so they can be ready for the hospital. I used two different paper lines from Papertrey Ink---Pink Patterns & Bitty Baby Blessings. Both of these are so perfect for baby things. I used Berry Sorbet paper to accent the pink ones and colored in a little elephant with grey copics. The elephant is from the Tiny Treats: Birthday set. I love these Tiny Treats sets----so sweet for little treats. Joshua is about to be too old for them, but, HEY, I'M HAVING A GRANDBABY!!! I'll be able to make these for YEARS! ; D
I used Summer Sunrise and the Marvy Scalloped Circle punch for the tag here and colored the elephant with the Plum Pudding Copic trio. I'm not really a purple girl, but it worked with the paper!


I love how quick and fun these were. Now, if I can just get that baby to come see us! Caitlin will be induced later this week if she doesn't show up before then! I promise some sweet pictures and news right here! Thanks for checking in today---and yes, I'm keeping up with Project Life and absolutely loving it---I just need to photograph it---maybe today!

~Kathleen

Tuesday, July 20, 2010

{Birthday Journal}

I started making a journal (with a $1 composition notebook from Target) for myself and ended up finishing it for a friend's birthday. I knew I wanted to make her something and this just seemed to fit---NOW the challenge will be getting it to her and ON TIME! I had a friend tell me once that she had "postal-phobia" and I could totally relate. It is such a chore for me to get to the post office---I live really close and everything---I don't know what that is---well, perhaps it's postal phobia---who knows!

OK---back to the card and journal---I embossed the branches from Rustic Branches on Ripe Avocado cardstock with clear powder. I added some Green Tea Leaves paper in Aqua Mist and then added a scallop border in the same paper. I tied some jute around it and added a Ripe Avocado button.

I cut the tea cup out of Rustic Cream paper(using the new teacup die from Papertrey Ink) and stamped the cup and then the little "tea bag". I distressed the edges of the card and papers, and then I stamped the sentiment from Tea for Two Additions.


The journal was actually made first. I stamped the Ripe Avocado cardstock with Versamark using three different stamps. I stamped some Kraft cardstock that I had scalloped and then wrapped it around the binding, attaching it with Scor-tape. I used the Eyelet lace border in brown felt as an accent down the side of the binding, and also cut out the Mat Stack 1 as my background layer for the teapot and cup. I tied three buttons with Rustic Jute twine for some texture and interest. I used only half of the sentiment---My Cup Runneth Over by just making the rest of it while I inked it up.

Here's to hoping I get this to my friend on time---I will probably be more likely to do that if I run it by her house!


I hope you enjoy your day today---it's MISERABLY HOT here in Raleigh---I hope it's cooler where you are!

Birthday Journal (all supplies PTI unless noted)
Stamps: Rustic Branches, Tea for Two, Tea for Two Additions
Paper: Kraft, Ripe Avocado, Rustic Cream cardstock, Green Tea Leaves patterned paper
Ink: Ripe Avocado, Vintage Cream, Memento Tuxedo Black, Versamark (Tsukineko)
Tools: Tea for Two dies, cuttlebug, Eyelet Lace  border die, Mat Stack 1 die, Embossing Scallop Border punch (Fiskars)
Accessories: Dark Chocolate Felt, Rustic Jute Twine, Vintage buttons in Aqua Mist,
Dark Chocolate, Ripe Avocado

Saturday, October 31, 2009

{BOO!}

Hello all---yes, here I am again after 3 weeks of abscence---I just can't believe it's been that long! Obviously at this time in my life, this is taking a back seat. I've had a lot going on---and much of it is blog worthy---but there has not a lot of time to actually sit down and blog, so, it has not happened. I made these little surprises for some of my co-workers---just the ones in my building because I just didn't have time to do them for the whole Lower School. I was inspired---and sort of CASED (copied and stole everything) this idea from Betsy Veldman's PTI group post in August "Tags Two Ways". I don't usually do a lot of Halloween stuff, but I just loved these tags and I really like to give little gifts throughout the year. I used this pillow box template that I found online here. It was the size I wanted to use and after looking at several sites that wanted me to pay for one--this one was free, so I used it!!! I didn't follow her directions, but I used the template. She has a template there for the small and large one--this is the large one.

I'll put the details of papers and ink down below. After I had cut out all the pillow boxes, I trimmed the patterned paper 3.5 x 8". I stamped them with Fancy Flourishes using Memento Tuxedo Black ink to look like the lacy felt (WRMK) that Betsy had used. Then I used the Apron Lace edger punch to make the edge. The tag was stamped on Rustic Cream cardstock and then I antiqued the edges with Antique Linen distress ink. I punched the tags with a 1 3/4" circle punch and then cut out a scallop circle using my Marvy scalloped circle punch and antiqued that as well. I tied a bow around each box then I sewed various Vintage buttons on with rustic twine and tied that around the bow. I filled them (before tying the bow) with different Bliss candies---it's a chocolate candy that I can resist---can you believe it? I decided it was best to do it with something I didn't like---but everyone else seems to!

I have some very exciting news to share with you tomorrow---I just don't have time to do the post now with my son beside himself to be a "SWAT guy" for Halloween tonight---I'll post pictures of that next week, I hope....that's my story, and I'm sticking to it! ;) I hope you'll come back to find out!!


BOO! Pillow Boxes:
Stamps: Fancy Flourishes, 2009 Halloween Tags (PTI)
Paper: Kraft, 2008 Bitty Box, Bitty Star and Bitty Dot Basics (some of all three), Rustic Cream cardstock (PTI)
Ink: Ripe Avocado, Plum Pudding, Summer Sunrise (PTI), Antique Linen distress ink (Ranger), Tuxedo Black memento (Tsukineko)
Accessories: Apron Lace punch (Fiskars), Scallop Circle Punch (Marvy-blue), ribbon & vintage buttons in Ripe Avocado, Plum Pudding, Summer Sunrise, Orange Zest

Sunday, April 19, 2009

{a little gift}

Here's a gift you can make so quickly~if you can cut paper and use a tape runner, you can do this!!

The teachers and assistants in the Lower School where I teach are honoring the "support staff" this month, and I said I'd make these post-it note holders for them last week.


I used this tutorial on Splitcoaststampers. I had used this Heidi Swapp patterned paper at Easter on our place cards and some little treat bags I had for everyone. It just looks so happy and shouts "SPRING", so I decided to use it on these gifts. All you do is cut and score paper, stick it all together, add ribbon, add the post-it notes and then decorate the front. I went with a very simple cover, but some in this gallery are more involved. I used the cute and curly stamp and curly label punch. I stamped the thank you stamp in various inks to match the papers and then cut them out so I could layer it on another label punch.

LOVE THE PUNCHES! Anyway, this really was super quick. I made nine of them in no time at all.


This particular version of post it note holder usually has a little golf pencil attached, but I didn't have any, so I just centered the notes and moved on!


Thanks for stopping by--I have lots to do this week, but I have some things photographed--hopefully I can get to the posts! Have a great week~


Paper Post-it Note Holders:

Stamps: cute and curly (SU!)
Paper: Stamper Select White, Pure Poppy, New Leaf, Melon Berry, Spring Rain, Raspberry Fizz, Hibiscus Burst (PTI) Heidi Swapp patterned paper---
Ink: Pure Poppy, New Leaf, Melon Berry, Spring Rain, Raspberry Fizz, Hibiscus Burst (PTI)
Accessories: Curly Label Punch, Dimensionals (SU!), New Leaf double stitched, Spring Rain grosgrain, Melon Berry grosgrain, New Leaf satin, Fresh Snow grosgrain ribbons (PTI)

Friday, February 20, 2009

{The Solid Rock}

Well, I had an experience yesterday that was new to me, but perhaps common among bloggers---I had spent FAR TOO LONG trying to put together a post---yes, it was long and had lots of pictures. I had taken something out of Microsoft Word and added it to my post----apparently, blogger doesn't like WORD----after several error messages upon trying to publish said article, I finally had to save it and leave for an appointment......only to come home last night at 10:00pm to find that I had SOMEHOW deleted all of the pictures but two and the entire body of the post---all that was left was the description. SOOOOOOOOO, this will be a shorter version of that post, because I just can't bear to do it all again---just imagine that I am explaining everything I did to make these two items and if you have any questions, I'll be more than happy to answer them---just ask me in the comments and I'll answer you!!! SOOOOOO, onto the stuff---

I have a friend who was having a bad week---she needed a reminder of who our anchor is if we know Jesus Christ. I was already making this little box and was using the Men of Life patterned paper from Papertrey Ink. I love this paper----especially for little boys or men---but, this friend of mine was a girl---hmmmm. How perfect was it that when she told me of her dilemma that the old hymn "The Solid Rock" came to mind. There's a line in that song that says, "in every high and stormy gale my anchor holds within the veil." What a blessing to know that we can cling to Jesus in the midst of hardship. So, I decided that this box would not only work, but was perfect for what I wanted to do.

I made the box out of Dark Chocolate cardstock and put patterned paper on the four sides and the lid. Then I made this little boat that I originally saw on Nichole Heady's blog here. Mine had a little issue after I got it together, but I didn't have a lot of time, so it had to do!


I filled the box with Ghirardelli chocolates---you know, the caramel filled squares..............LOVE THOSE! Anyway, I made the sails with Pure Poppy cardstock and Fresh Snow ink. (I didn't have any of those lollipop sticks so I used one of Joshua's Valentine's Tootsie Pops---is that wrong? I cut off the stick and left the candy---does that count? Does an 8 year old boy really mind a 1/2 inch stick on his tootsie pop???? I don't think so!) I made the boat just like Nichole's example except I put sails on both sides of the stick. I was able to do that by stamping the sails in Fresh Snow ink onto a transparency and then putting my paper on it to transfer the ink to the cardstock---does that make sense? I'm sure this is called something, but I've searched several places and can't find the name, so hopefully you know what I'm talking about---basically, I was able to have my image backwards so my sails lined up together. I also embossed the sails with my Swiss Dots Cuttlebug Embossing folder. At the last minute, I decided that this boat HAD to have an anchor---and of course, there's a anchor stamp in the set, so I cut out one of the "chains" I had used on the border and attached it to the anchor.

Anyway, that's the box---next I made a card. This Men of Life Stamp set is so much fun to work with. I started with a 5.25 square card in Kraft cardstock. I added some patterned paper to it and then stamped some Spring Rain and Dark Chocolate cardstocks in Fresh Snow (LOVE THAT INK!) to make little border strips. I made the background for my little sailboat with my labels 2 dies. I sewed the sails together with linen thread and the button. I added the "Thinking of you" sentiment in Dark Chocolate ink and assembled the whole thing---it actually happened really fast. As I'm looking at the picture I realize that I forgot to add my ribbon---Just imagine some Pure Poppy ribbon around the patterned paper and a little knot tied 1/3 of the way in from the left---do you see it? I can't believe I did that!!! HORRORS!!! CAN YOU REALLY GIVE A CARD WITHOUT RIBBON ON IT? Well I did and she loved it---so now I know! Anyway---that's my little project for the day. I think my new stamps arrived from PTI, so I need to go look at them and see if I have some time to play this weekend! Before I go, I am going to post the words to the hymn that I mentioned earlier---I am so grateful I learned all those old hymns when I was young. They often "come back to me" when I need them most. I printed the words to the hymn on Spring Rain cardstock and glued it inside the card. What a great reminder of how great our God is---I hope you enjoy your weekend! Thanks so much for stopping by---what an encouragement you all are to me!!

Hugs,
Kathleen
The Solid Rock

My hope is built on nothing less than Jesus' blood and righteousness.
I dare not trust the sweetest frame, but wholly lean on Jesus' name.

When darkness seems to hide His face I rest on His unchanging grace.

In every high and stormy gale, my anchor holds within the veil.


His oath, His covenant, His blood support me in the whelming flood.

When all around my soul gives way He then is all my Hope and Stay.


When He shall come with trumpet sound oh may I then in Him be found.
Dressed in His righteousness alone faultless to stand before the throne.


ON CHRIST THE SOLID ROCK I STAND. ALL OTHER GROUND IS SINKING SAND; ALL OTHER GROUND IS SINKING SAND.

Anchor box and card:
Stamps: Men of Life, Polka dot Basics (PTI)Paper: Pure Poppy, Kraft, Dark Chocolate, SS White, Spring Rain, Men of Life Patterned Paper (PTI)
Ink: Fresh Snow, Dark Chocolate
Accessories/Tools: Cuttlebug & Swiss Dot Embossing Folder (Provocraft), Labels 2 Dies (Spellbinders), Button (Foof-a-la), Hot Glue gun, Lollipop stick, Threading water punch (Fiskars) Dimensionals, Linen Thread (SU!)

Saturday, January 3, 2009

{Snowflakes}

Noooooo, we don't have any here, sadly! But I have some on these mugs! I was at Target the other day when they had just marked all their Christmas items to 75% off. I found a set of these mugs with some cappucino mix for less than $4---so I had to have it---that's four gifts for one dollar each!!! So, I purchased them and made some quick tags last night. These tags took no time at all. I've said it before, (but it's true, so I'll say it again) it's all about having the right tools! These tags would have taken a lot more time if I didn't have all the punches! LOVE THOSE---anyway....I put these together for a few of my friends--we are all working together at Trinity, so we have to head back to school on Monday. I thought they may need a pick me up that day, so I was able to put some hot chocolate mix in the mug and put a quick tag on it. Voila! a fun gift!

The details are below~thanks for stopping by today!
Kathleen

Snowflake Tags:
Stamps: 2008 Holiday Tags (PaperTrey Ink)
Paper: Stamper's Select White, Pure Poppy, Dark Chocolate (PTI), Brocade Blue, Real Rust (SU!)
Ink: Pure Poppy, Dark Chocolate (PTI), Brocade Blue, Real Rust (SU!)
Accessories/Tools: Dimensionals, Ticket Corner Punch, Red Gingham Ribbon, Crop-a-dile (SU!), 1/4" Fresh Snow velvet ribbon, Dark Chocolate Satin ribbon (PTI), 1 3/4 " circle punch (EK Success), Scallop Circle punch (Marvy), Threading Water Punch (Fiskars)


Wednesday, December 10, 2008

{Super Quick Gift}


...and it has a little punch, too!! A few weeks ago I saw this post by Ali Edwards (LOVE HER BLOG!). She was showing us some of her Christmas gifts she did last year---I decided I HAD to make some of these Christmas ornaments. She did some monograms---and I'm going to do some of those, too, but I made these pinecones with someone in mind.

I made this in about 3 minutes---and that includes tying the bow....seriously....that's my kind of gift! I made this for my secret santa that we do at school. I've neglected her a bit, so I had to make sure to give her something nice tomorrow. Tomorrow is my Christmas Program at school, so I've been especially busy lately getting ready for that.

Anyway, if you need a quick gift, this is the one to make---very affordable and so nice. My secret santa was a forestry major, so she loves all things "trees". I made a tag for the bag, but I don't have a picture of it---I don't have time to get one in the morning--so just imagine a tag made on Kraft cardstock using the pinecone from First Fruits---love it~

Well, that's a quick post---I hope you have a great day!!!


Pinecone ornament:
Frosted balls from AC Moore
Noel Rub Ons Value Pack (me & my BIG ideas)

Hunter Organza Ribbon

Thursday, November 6, 2008

{Advent Calendar}


I love this advent calendar idea that Beate Johns created last year and showed us on Splitcoast. You can find the tutorial here. I made one last year and wanted to make one this year as a gift. I had a terrible time photographing it---I tried it numerous times. Finally I decided that perfectionism never got anything posted, so I'd just deal with the pictures I had and post them anyway!!!

I started out with a canvas from AC Moore and painted it red. I used Ripe Avocado cardstock and Holiday Vintage Prints patterned paper from Papertrey Ink. (I had originally intended to show this for the PTI October Blog Hop, but I got messed up on the days and missed it---oh well! But, the polka dots would have been perfect!!!)
I used my square nestabilities dies and scallop squares to cut the paper uniformly. The tins are covered with a different pattern from the same paper pack....and the background piece for the words on top is yet another piece.
I stamped the wreath with Rustic Branches and added crystal effects to the berries for some texture. The brads are some medium cherry brads from American Crafts. The letters are from Tall Tales Alphabet. I stamped them in Versamark ink on Ripe Avocado cardstock and embossed them with clear embossing powder from Ranger.The numbers and border are from Just Rite stampers--again I stamped them using Versamark and then embossed them with Filigree Detail Gold Embossing Powder. I added a piece of Ripe Avocado Saddle Stitch ribbon to each side of the canvas and tied it in a ribbon at the top as a hanger.

The project is actually an easy one. I like the size of the tins because the gifts inside have to be small to fit! Last year, I typed a list of some of the items for the month--like tickets to the Nutcracker for the whole family, or Christmas Movie night to make it possible to present things that were a little bigger than the tin. It really helped my 7 year old get through some of those LONG, LONG days until Christmas. If you don't have a calendar---you should try this one--if I can do it, anyone can!

Have a great day!
Kathleen

Calendar stuff:
Stamps: Tall Tales Alphabet (SU!), Rustic Branches (PTI), Just Rite Medium/Large Number set
Paper: Ripe Avocado, Pure Poppy, Holiday Vintage Paper (PTI)
Ink: Ripe Avocado, Pure Poppy (PTI), Versamark
Tools: Cuttlebug (Provocraft), Circle, Scallop Circle, Square, Scallop Square Nestabilities dies (Spellbinders), Heat Tool (Marvy),
Accessories: Medium Cherry Brads (American Craft) Favor Tins (Wilton), Crystal Effects (SU!), Velcro Dots, Zots 3-D adhesive dots

Saturday, October 25, 2008

{Gift for Coach}

Joshua has his last soccer game today. It's raining, but this is a make up from a rained out game earlier in the season, so I guess they decided rain or shine, it had to be played. SOOOOOO, we are headed to a game today in the nastiness---of course, if you are a seven year old boy, this is like heaven to you!!! Playing in the rain without your mom complaining about it---what a great day!

I'm the "team mom"--which in this league just consists of sending a weekly e-mail and buying the trophy and coach's gift for the last game. This is can do---being the team mom of these traveling teams and all the arrangements that go into that---not for me!

We got the coach a giftcard, so I just made a giftcard holder (Kristin Werner's again---I know, I've made a bunch, but they are SOOOOO quick and easy and that's what I love!) for him and a card that has room for everyone to sign. I also had this bag that I added some paper to and voila, a "gift ensemble". Doesn't that sound a lot nicer than it is!? :)

I made this card using the only "soccer" thing I have--this ball is from Stampin' Up!'s Good Sport. I'm pretty sure it's retired. I still use it for all things "sporty", so I can't get rid of it. I used some paper from my stash. I looked on the back and it said Bo Bunny Press, Romance Dots. I just needed the color scheme so I went with the paper. I used these colors because the team colors are black and red and white, so this paper made it easy. I also embossed some basic black with the spots & dots embossing folder for some texture. The layout was a spin on Jen delMuro's Sketch for You to Try from last week.

I stamped the ball on Basic Black paper with Craft White ink and then heat embossed it with some Ranger white embossing powder.

I made the tag with Nestabilities tag dies and used the sentiments from Rustic Branches. I tied some ribbon on there---is that too much for a man's card? Do you use ribbon on cards for men?

I added white paper with stamped soccer balls on the inside of the card. I don't usually decorate the inside, but I wanted to make sure we had enough space for everyone to sign it. Of course, I should have had this card at practice on Thursday, but that's not how I operate---sadly. But, it will get done either way!The gift card holder is very much like the card. The link I gave you above --(Kristina Werner's)
will take you to her blog which has a link to her template for these giftcard holders---these are honestly so fast and you could whip out a bunch of them quickly for Christmas gifts if you needed to.

Well, I'm positive this is WAY more information than you wanted to know! Thanks for peeking in today---I hope your Saturday is a great one.

I hope to be back tomorrow with my Papertrey Blog Hop project---if I can get it finished and photographed! I should be able to work on it tonight.

Hugs~
Kathleen

Gift Ensemble Stuff:
Stamps: Good Sport (SU!), Rustic Branches (PTI)
Paper: Pure Poppy, Stamper's Select White (PTI), Basic Black (SU!) Romance Dots (Bo Bunny Press), Pious-Scarlett's Letter (Basic Grey) (on bag)
Ink: Craft White (SU!) Palette Noir,
Tools: Cuttlebug, Spots & Dots Embossing Folder, Heat tool
(Provocraft), Nestabilities Tag die (Spellbinders)
Accessories: Vintage Brads (SU!), Pure Poppy grosgrain ribbon (PTI). White Embossing Powder (Ranger)

Wednesday, October 1, 2008

{Easy Post-it Note Holder}

Do you love the Target Dollar Spot? I DO! I often find cute things to alter and give as gifts. I am the Upper School Room Parent Coordinator at my kids' school (it sound very official, but no one would do it and I can send e-mails, which is mostly what the job requires!) and I had a meeting yesterday morning with the mom's who have volunteered to be "room parents" for each grade in the Upper School. I wanted to give them SOMETHING for all their time and when I walked into Target on Sunday I found just the thing. I found these cute little fall themed post-it notes! I LOVE fall and anything with that theme!

I used the tutorial that Emily Giovanni has on her blog. You can find it here. My post-it's where
3 1/2" square instead of 3" like her tutorial, so I had to alter the measurements, but this was so simple. I made 9 of them in about 2 hours---it would have been MUCH faster had I not decided to cut out the acorns. I didn't have a punch that fit it just right, so I decided to cut it out---my wierdness coming out...yes, I made up a word! I also made some with Dark Chocolate, but those pictures didn't turn out very nice, so I just posted these.These would make a great gift for someone and wouldn't cost you much....we don't count the cost of the other supplies, because we already paid for them, right? So this gift was just $1!!! I have cleaning to do, so I'm going to run~I hope you have a great day. E-mail me if you have any questions---

Kathleen~


Post it note holder supplies:
Stamps: First Fruits (PTI)
Paper: Old Olive, Pumpkin Pie (SU!), Dark Chocolate, Summer Sun, Vintage Cream, First Fruits Patterned Paper (PTI)
Ink: Old Olive, Pumpkin Pie, Chocolate Chip (SU!), Summer Sunrise (PTI)
Accessories: 1 1/2" circle punch, scallop circle punch, dimensionals, Pumpkin pie 1/4" grosgrain, Old Olive 5/8" grosgrain ribbons (SU!), Summer Sunrise twill (PTI)